Our team successfully executed a complex rudder removal and reinstallation operation
Initial Inspection & Assessment
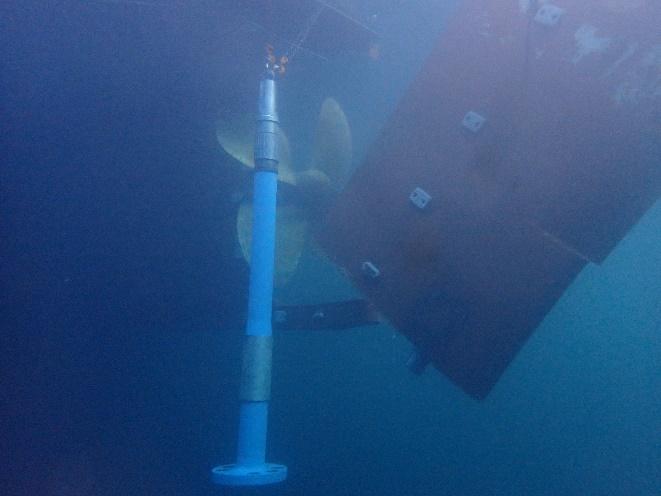
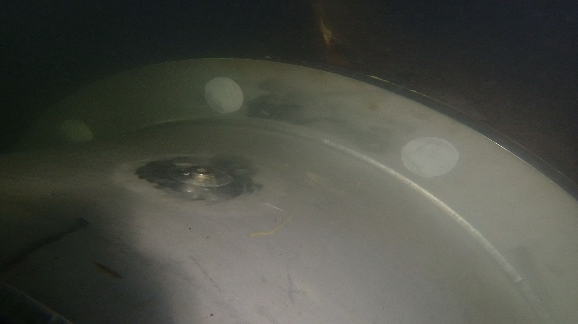
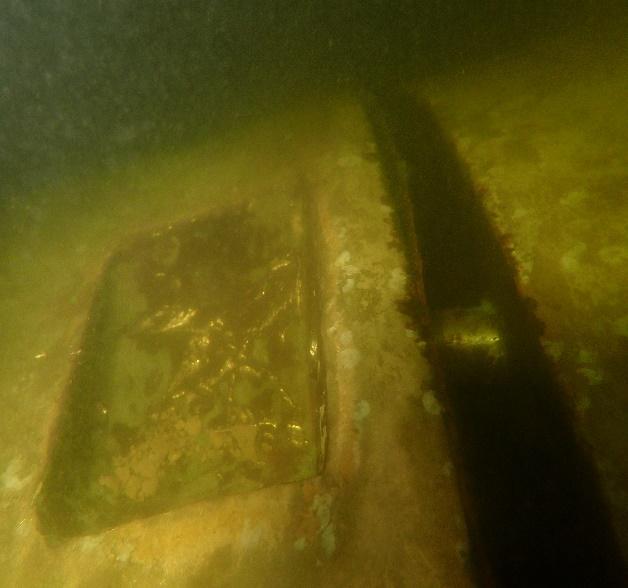
The operation commenced with a diving inspection of the rudder assembly, revealing excessive clearance on the reamer bolt connection to the rudder stock and the bottom rudder pintle to the skeg. Significant movement was observed, confirming the necessity for complete rudder removal to access and inspect critical components such as the rudder bushes, rudder stock, and reamer bolts.
Rudder Securing & Component Removal
Before disassembly, the rudder blade was secured using multiple chain blocks connected to the vessel’s lifting points. Underwater pad-eyes were welded onto the blade to ensure stability during removal.
The internal repair team proceeded with the removal of the tiller key and tiller. Initial extraction attempts using conventional hand tools and a 5-ton chain block proved ineffective. A custom framework was fabricated to accommodate a 150-ton hydraulic press, successfully removing the damaged tiller key. To remove the tiller from the rudder stock, another custom framework was constructed. Using this setup, 200 tons of hydraulic force was applied, confirming misalignment in the assembly, as significantly higher force than specified was required.
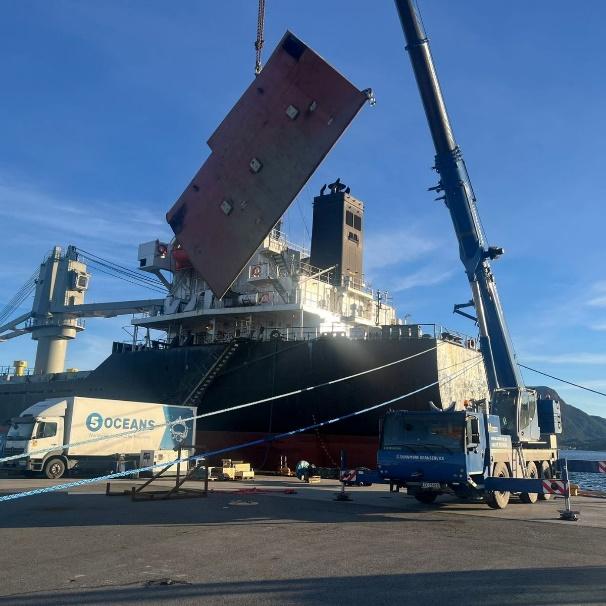
Following this, the rudder carrier was dismantled along with the internal jump stopper, freeing the rudder stock within its bearing arrangement. The rudder stock and blade was then disconnected and removed from the vessel. All removed components were transported to a workshop in Denmark for repairs and replacements.
Installation Process
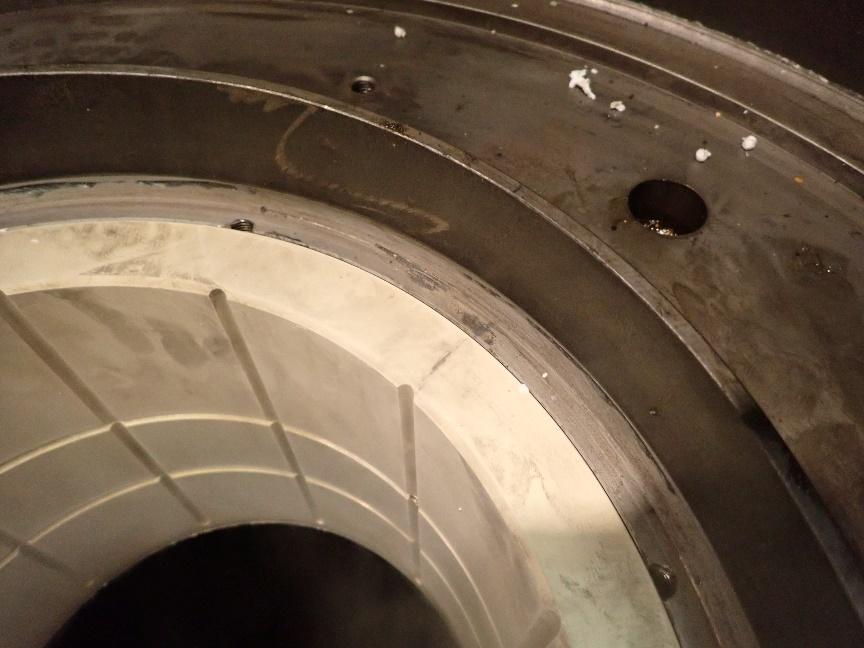
The reinstallation phase commenced with securing the rudder blade and stock to the vessel’s lifting points. Three new rudder bushes were installed using a liquid nitrogen shrink-fitting method. Once seated, they were locked into place with welded retainer rings.
The rudder stock was then aligned and installed through the intermediate and neck bearings. It was secured to the vessel’s internal lifting arrangement. The rudder blade was subsequently lowered into the skeg bush, with reamer bolt flanges aligned for final bolt installation.
The rudder stock was fully secured by aligning it with the rudder carrier. The newly machined retainer ring was installed and torqued in accordance with specified load distribution requirements. The rudder carrier housing was mounted with its corresponding reamer bolts and fasteners, securing the rudder stock in its designated final position.
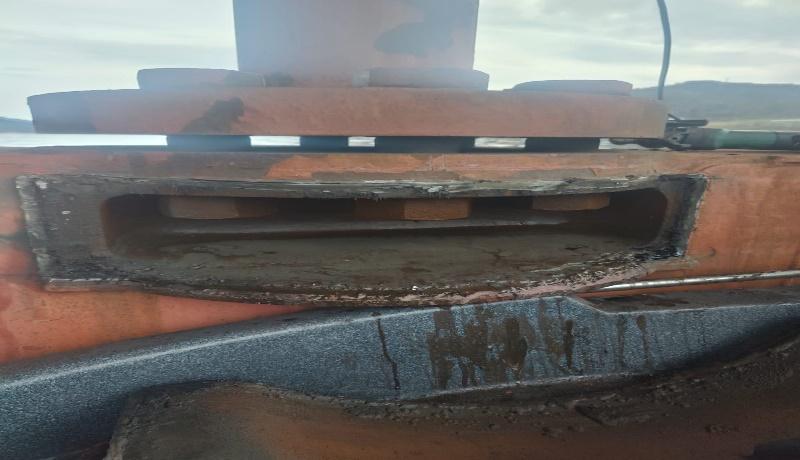
Following this, the reamer bolts were installed using a freeze-fitting method with liquid nitrogen. After equalizing temperature with the surrounding structure, the bolts and their nuts were permanently secured through welding.
Finally, the reamer bolt cover plates were reinstalled and secured using a one-side penetration weld, ensuring a dry and corrosion-resistant environment inside the reamer bolt cavity.
Final Testing & Verification
Upon completion, the rudder installation underwent comprehensive functionality testing. No abnormalities were detected, and a clearance measurement confirmed all was well within operational tolerances.
This successful operation showcases our team’s expertise in executing complex afloat repairs, and limit vessels downtime.